Pt. 2 of the Camping Party


I had bug nets and bug suckers, water guns, bug activity books, bug catchers and viewers, bubble guns and balls.




 Completed flower will look like this:
 Step 2) Once you have completed flowers, turn over and punch a hole on the left and right side. This will be to tie your ribbon through. You can also just hot glue your ribbon to the backside.
  Step 3) Optional: I like to scrunch each layer of the crepe paper to give it a more "full" look.
  Step 4) Depending on your theme, place in the center of each "Flower" a character, number, name, etc. I chose to only do 3 flowers because the space I had to hang this is small. If you have a larger space make enough to spell "Happy Birthday". I chose to punch out two circles with trucks and then used my cricut to cut out a large "7".
  Step 5) I used a paper garland to string my "flowers" together. You can also use ribbon or left over crepe paper.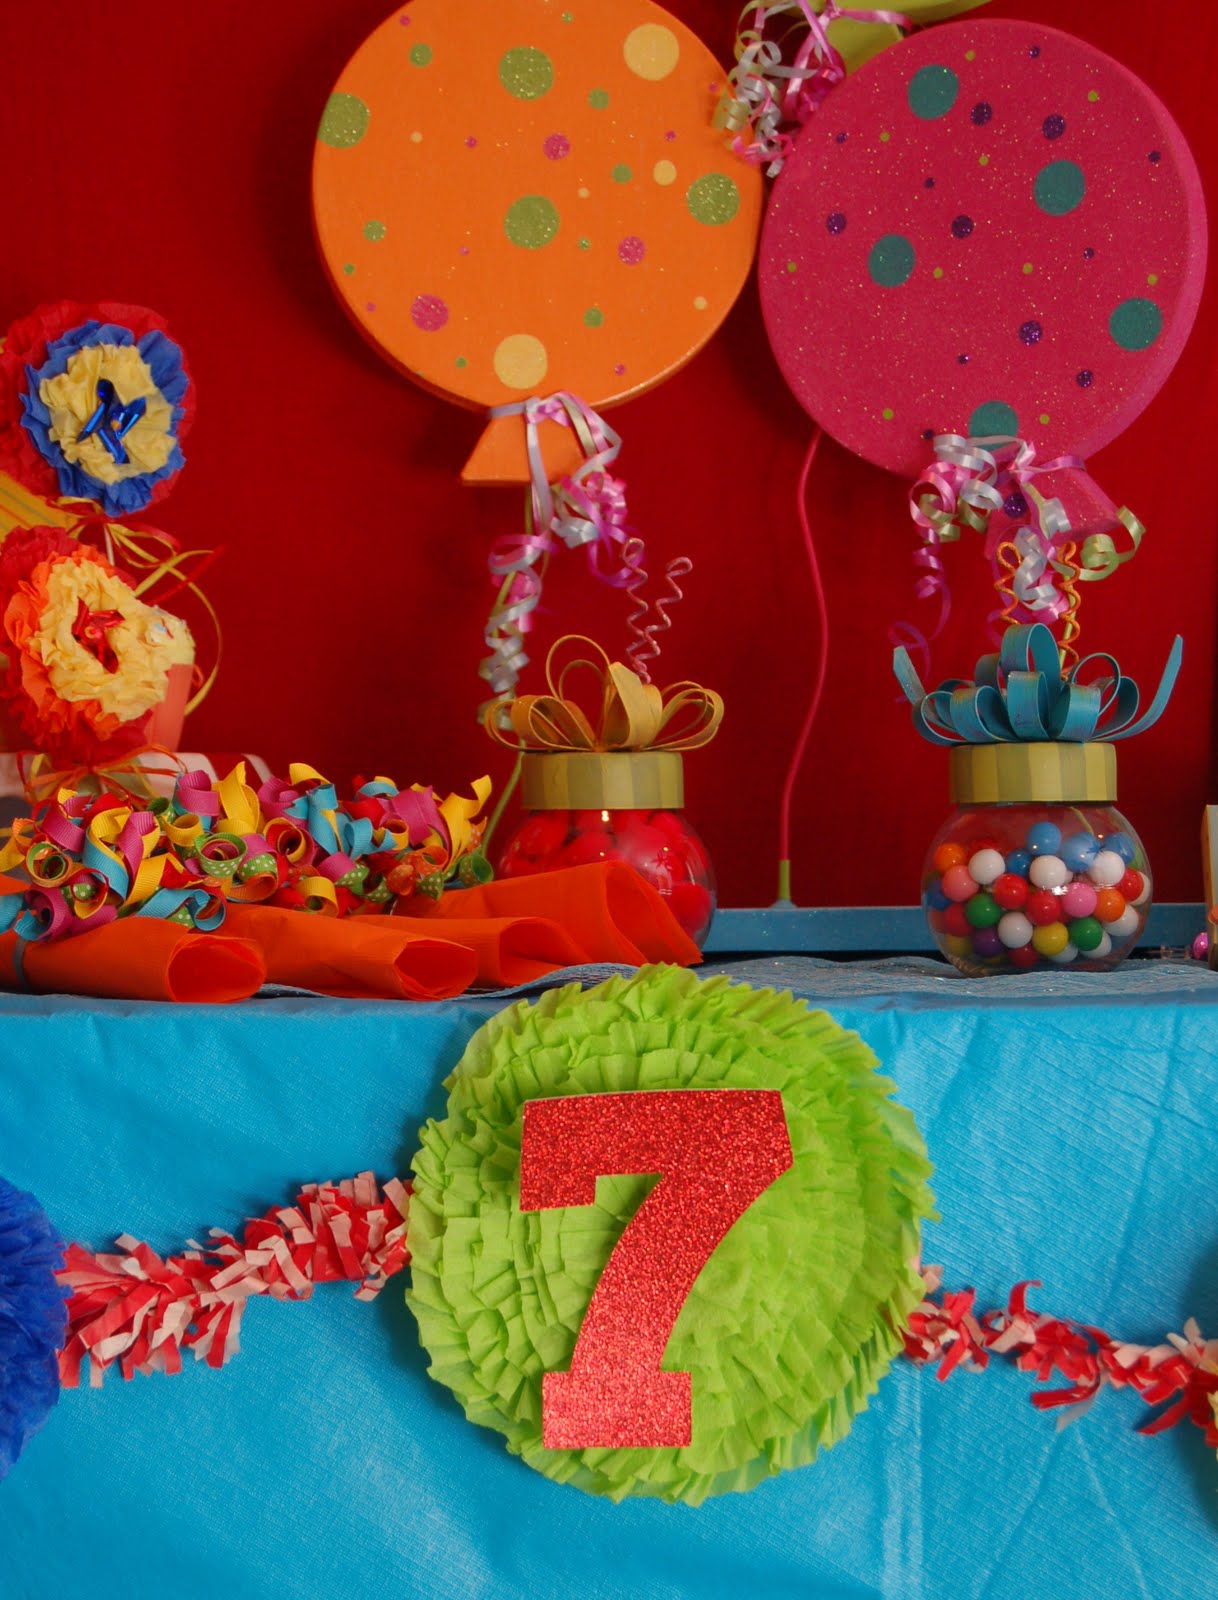
 My total cost was approx $6. $3 for crepe paper, $2 for paper garland and approx $1 for paper, with plenty leftover to make at least 3 more.

(29.5" )
Remember you only have to do one of the following to enter but the more you do the better chance you have to win!!
1) Become a follower or subscribe to my blog
2) Vote for Maddysons Lane on www.circleofmoms.com/top25/party-planning
(please message me or email me at chicpolevaulter@yahoo.com and let me know you voted. You can vote once a day and every vote counts as an entry!)
3)Like me on facebook Maddysons Lane
4) Share this on Twitter or become a follower
The contest will end on April 4th (this monday) at 5:00. The winner will be selected at random and I will posted on my blog. Once there is a winner I will contact you to get your shipping address. Good Luck!


 Posts
All Comments
Posts
All Comments


